| Component | Manufacturer | Model | Rev/Firmware/Gain |
| Laptop | Toshiba | Tecra 8100 | - |
| OS | Slackware Linux | - | 10.1 (patched drivers) |
| OS | Microsoft Windows | XP | SP2 + Patches |
| Wi-Fi card (Win) | Orinoco | Classic Gold | Firmware 8.10 |
| Wi-Fi card (Linux) | SENAO | 2511CD EXT2 | Factory FW |
| Drone | Linksys | WRT54G | Modified OpenWRT |
| Antenna | Fab-Corp | Mag mount Omnidirectional | 5db |
| Antenna | Pacific Wireless | Vagi directional | 16db |
| Power Inverter | Coleman | 400 watt | |
| GPS | Garmin | eTrex Legend | 3.60 |
| Amplifier | Hyperlink | Hyperamp II | 100mw/17dB |
My rig consists of a Toshiba 8100 laptop (P3 700, 128Mb RAM, 10GB)running netstumbler on WinXP PRO. It also runs Kismet on Slackware 10.1. 802.11b is from multiple sources. Windows is supplied by an Orinoco Gold Classic Wi-Fi card. Linux uses 2 X Senao 2511CD EXT2 wifi cards with 2 X 5db mag mount antennas on the roof (one at the front, the other at the back) from Fab-corp connected through a 2-to-1 concentrator, also from Fab-Corp. The other is 2 X 16db Vagi's pointed horizontally out the sides of the van connected to a modded Linksys WRT54G router, connected to the laptop via cat5 cable.
GPS is handled by a Garmin Etrex Legend handheld with a combo PC /12volt cable in a custom mount. Maps are generated by M$ Map point 2002 and Stumbverter.I also have a selection of other antennas. I have one Pringles Cantenna with some minor modifications on the Flickenger design(Pic). Instead of using 1/8" rod I used 1/4" and instead of the aluminum pipe to seperate the washers, I used 1/4" nuts on either side to seperate them. This variation allowed for minor tweaking and a sturdier design. There was a definate increase in signal strength with the new design.
I also have a Waveguide Cantenna made with 2 pineapple cans. (Pic)
I just recently constructed a Patch Antenna in a gladware container I have yet to test in any quantifiable fashion. (Pic)
I also grabbed a VAGI directional from Fab-Corp that I broke down and bought so as I could review it for the folks on the Netstumbler Forums.
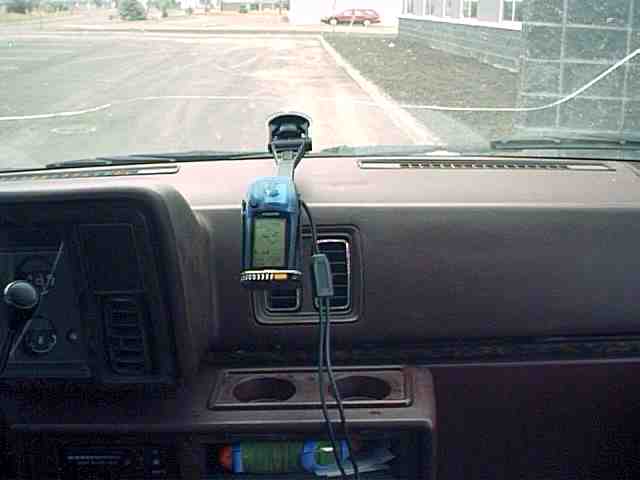
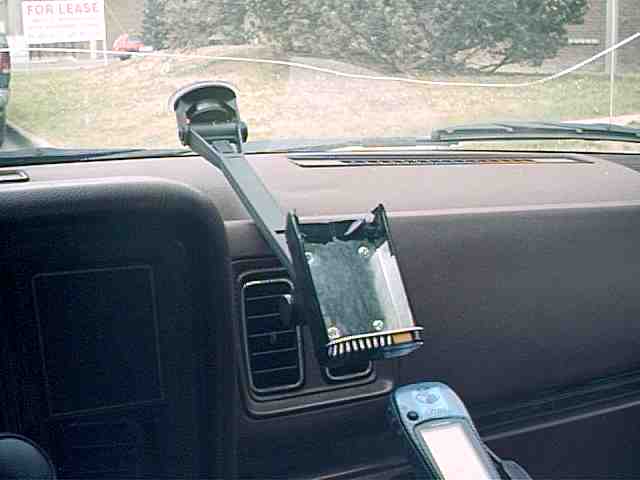
GPS and electrical rigging - You can see the GPS on my custom made mount near the top.
Electrical/AMP rigging - 12volt from the cig lighter goes into a splitter, 1 side goes into a 400 watt DC -> AC inverter feeding the laptop and AMP, the other side provides 12vDC for the GPS. Got that?
The AMP is 2 parts, the amplifier (white box) and the dc injector to power it (grey box). Signal goes from the Wi-Fi card, to the DC injector, from the DC injector to the Amp, then out to the mag mount antenna on the roof. Reverse that order for recieving data
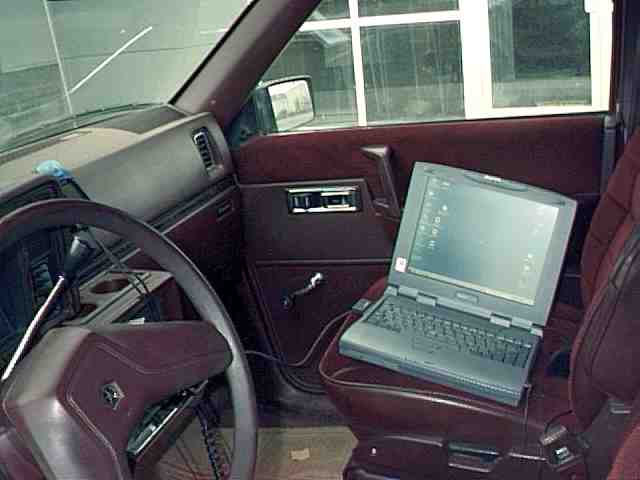
Laptop setup - A pic from the driver seat of the whole rig. The pic shows my old laptop, but the new one sits in the same place. The GPS is on the left, hidden by the steering wheel
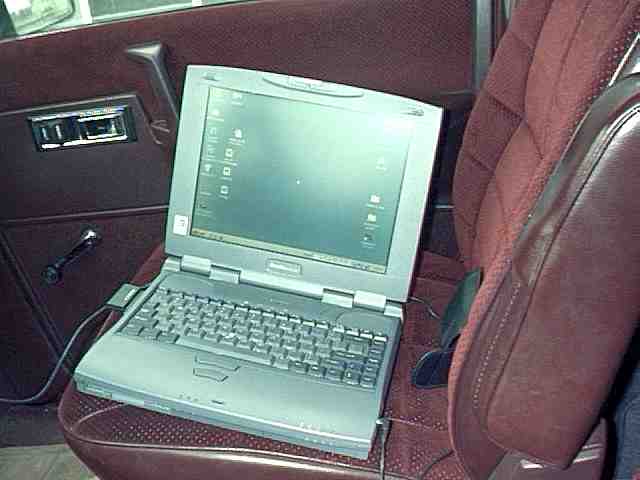
Laptop closeup - The laptop sits perfectly and does'nt slide around. The seats in the RenderVan are at the perfect angle and hold it firm
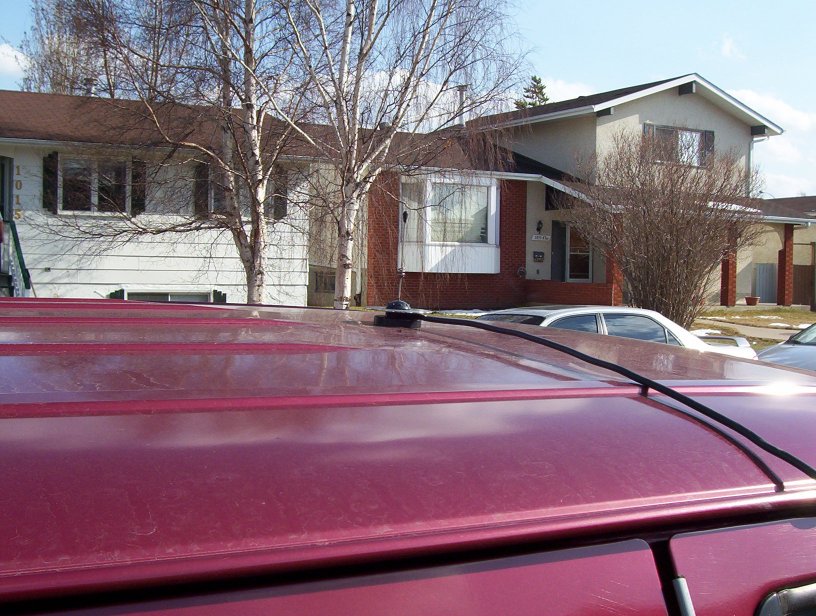
Mag mount antenna - That mag mount has seen alot of action. 2 Canadian winters, hot Vegas summers, and even a deer hit. Slightly bent, but none the worse for wear.
GPS and mount - Closeup of the GPS. It's a Garmin eTrex legend with the 12v/serial cable. The mount is a suction mount I got for $5 at a surplus place. The bracket was made out of a tin of Penguin mints. I just cut 1 side off to allow the taller GPS to fit and for the cable connection. For more stability I cut a 2" piece from the side of the lid and taped it to the bottom. The lid lip keeps everything in place. The bracket is bolted throught the back to the mount arm.
GPS mount detail - Detail of the mount